3. Plugin – Deinstallation
1 min read
Schritt-für-Schritt Installationsanleitung. Plugin – Deinstallation. Behandelt Download, Einrichtung und erste Konfiguration.
Schritt-für-Schritt-Anleitung
1
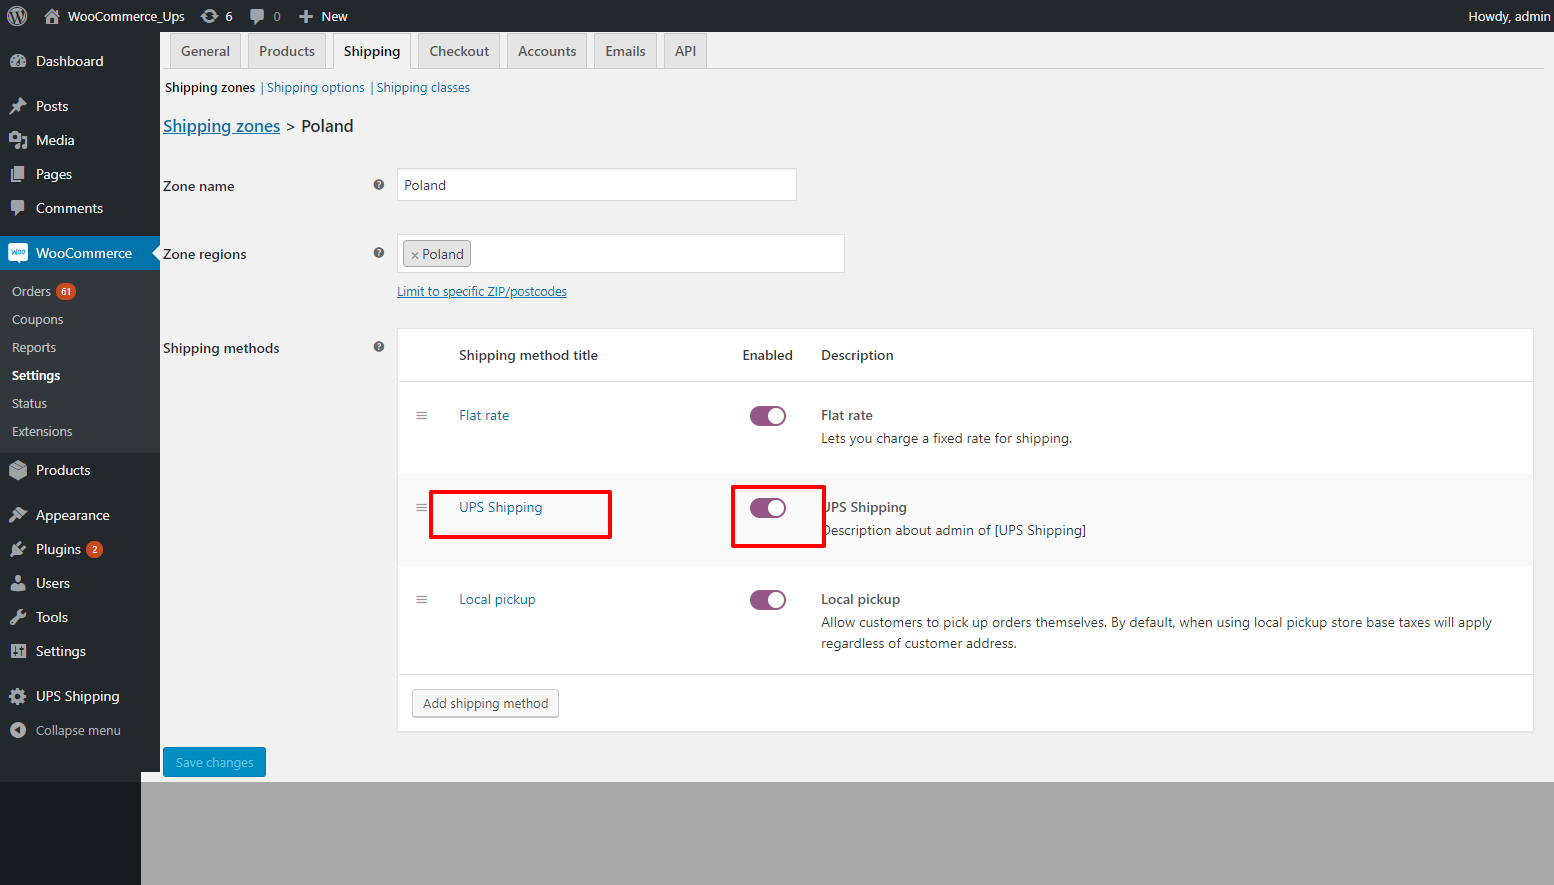
2. Deaktivieren Sie das UPS Versand-Plugin im Frontend.
• Go to "WooCommerce" -> "Setting" -> "Shipping" -> "Edit" by zone name. Figure 22 – Edit by zone name Figure 23 – Activate plugin

2
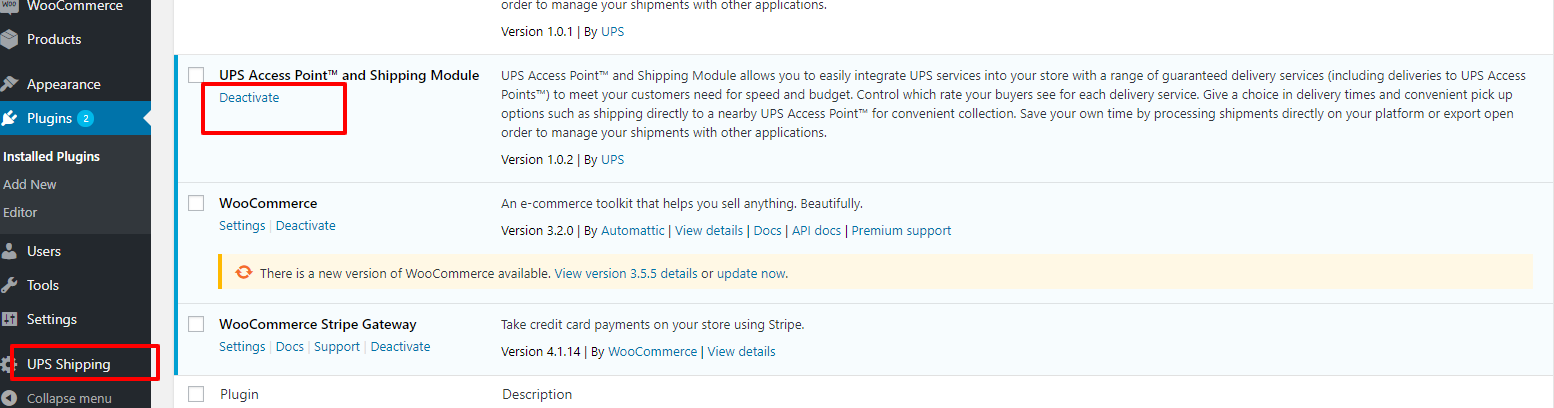
3. Deinstallieren Sie das UPS Versand-Plugin.
Login to the WordPress system, go to the plugin page, and click on "Deactivate" on the UPS Shipping plugin.

2.1
Login to the WordPress system, go to the plugin page, and click on "Deactivate" on the UPS Shipping
Login to the WordPress system, go to the plugin page, and click on "Deactivate" on the UPS Shipping plugin.
2.2
Then click “Delete”
Then click “Delete”