2. UPS Access Point en verzendmodule installeren
In Prestashop kan de gebruiker het UPS Access Point en de Verzendmodule op 2 manieren installeren:
1. Directe installatie door de door UPS geleverde module te uploaden naar de Prestashop-website van de gebruiker
- Ga naar de sectie 'Modules & Services' in Prestashop
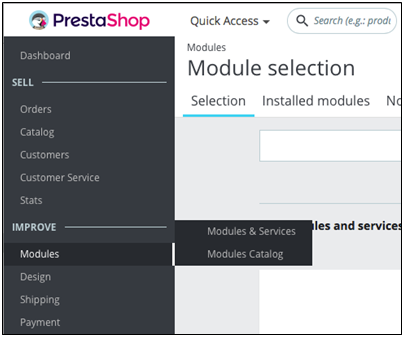
Figuur 1 – Modules & Diensten sectie
- Klik om 'Een module uploaden'
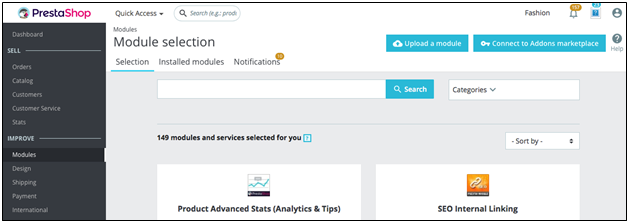
Figuur 2 – Upload een module in Prestashop
- Selecteer het UPS Access Point en de Verzendmodule op de computer van de gebruiker
2. Zoek de module op de marktplaats van Prestashop
- Ga naar de sectie 'Modules & Services' in Prestashop
Figuur 1 – Modules & Diensten sectie
- Zoek naar 'UPS Access Point en verzendmodule'

Figuur 3 – Zoek naar modules
- Klik op 'Installeren'.
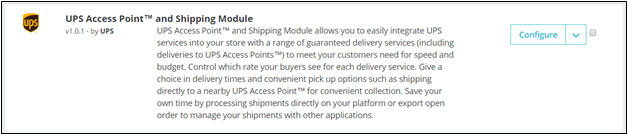
Figuur 4 – UPS Access Point en verzendmodule na installatie
Opmerking:
- De huidige versie is 1.0.1. Zorg ervoor dat u de nieuwste versie hebt geïnstalleerd.
- De gebruiker kan de standaard naam van de vervoerder en de transittijd wijzigen in het gedeelte Verzending/Vervoerder in de Prestashop-backend, maar het wordt afgeraden dit te doen. Dit komt omdat dit ervoor kan zorgen dat de plug-in niet werkt zoals verwacht. In het geval dat de plug-in niet werkt vanwege de gewijzigde provider, verwijdert u de plug-in en installeert u deze opnieuw om de wijziging ongedaan te maken.
Was dit artikel behulpzaam?
Heeft u meer vragen? Dien een aanvraag in