2. Installing UPS Access Point and Shipping Module
In Prestashop, user can install the UPS Access Point and Shipping Module in 2 ways:
1. Direct installation by upload the module provided by UPS to user’s Prestashop website
- Go to section ‘Modules & Services’ in Prestashop
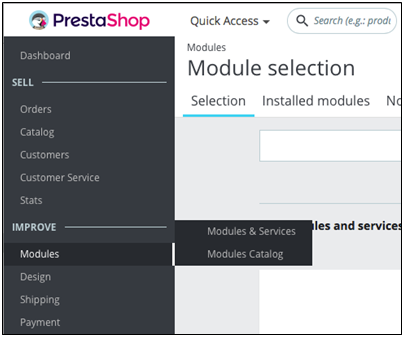
Figure 1 – Modules & Services section
- Click to ‘Upload a Module’
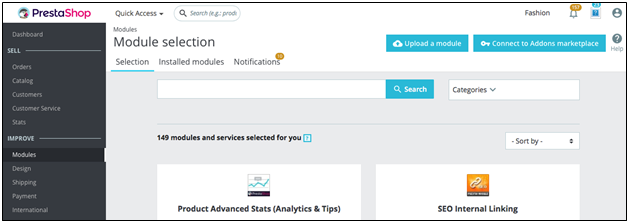
Figure 2 – Upload a module in Prestashop
- Select the UPS Access Point and Shipping Module in user’s computer
2. Search for the module in Prestashop’s marketplace
- Go to section ‘Modules & Services’ in Prestashop
Figure 1 – Modules & Services section
- Search for ‘UPS Access Point and Shipping Module’

Figure 3 – Search for modules
- Click ‘Install’.
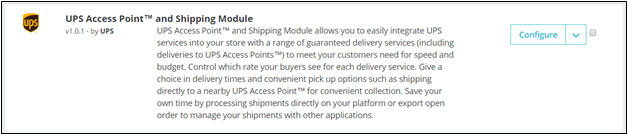
Figure 4 – UPS Access Point and Shipping Module after installation
Note:
- The current version is 1.0.1. Please ensure that you have the latest version installed.
- User is able to change the default carrier name and transit time in the Shipping/Carrier section in Prestashop backend, however it is not advised to do so. This is because it may cause the plugin to work no as expected. In the case that the plugin is not working due to the changed carrier, uninstall and re-install the plugin to revert the change.
Was this article helpful?
Have more questions? Submit a request