


1. Instalacja podstawowego wtyczki WooCommerce
Krok po kroku przewodnik po instalacji oficjalnej wtyczki UPS Shipping dla WooCommerce. Obejmuje pobieranie, przesyłanie i aktywację.
Przewodnik krok po kroku
Utwórz konto i zaloguj się
Navigate to ups.dashboardlink.com. Create an account and log in to the account.
→ https://ups.dashboardlink.com/register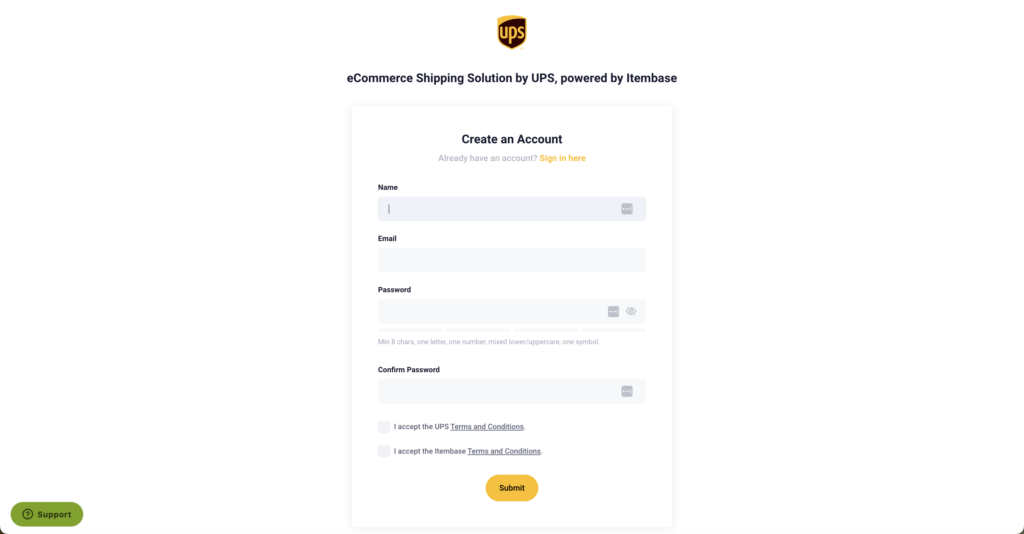
Pobierz wtyczkę
Once logged in, go to "Stores" and click on the connect button to download the WooCommerce plugin.
→ https://link.ecommerce.help/ups-plugins-woocommerce
Alternatywa: Rynek WordPress
Alternatively, you can also download the plugin from the WordPress marketplace.
→ https://link.ecommerce.help/ups-plugins-woocommerce
Prześlij wtyczkę do WooCommerce
Open a new tab and log in to your WooCommerce admin. Upload the plugin by following the standard plugin installation workflow within WordPress.

Zainstaluj i aktywuj
Select the downloaded plugin, install it, and activate it.

Połącz UPS z WooCommerce
After activation, a new entry called UPS will appear in the menu. Click on the UPS menu item.

Wprowadź dane i połącz
Add your professional email address, accept the terms and conditions, and click the accept button. Upon connecting, the dashboard will initiate a historical data import.

Zweryfikuj zamówienia
After a few minutes, you should start seeing your first orders in the dashboard.

Zakończenie
Your WooCommerce store is now connected to UPS for shipping purposes. The plugin installation and setup process is complete.
→ https://wordpress.org/plugins/ecommerce-shipping-dashboard-by-ups-for-woocommerce/#description