


1. Installazione del Plugin Core di WooCommerce
Guida passo-passo per l'installazione del plugin ufficiale UPS Shipping per WooCommerce. Copre download, upload e attivazione.
Guida passo dopo passo
Crea un Account e Accedi
Navigate to ups.dashboardlink.com. Create an account and log in to the account.
→ https://ups.dashboardlink.com/register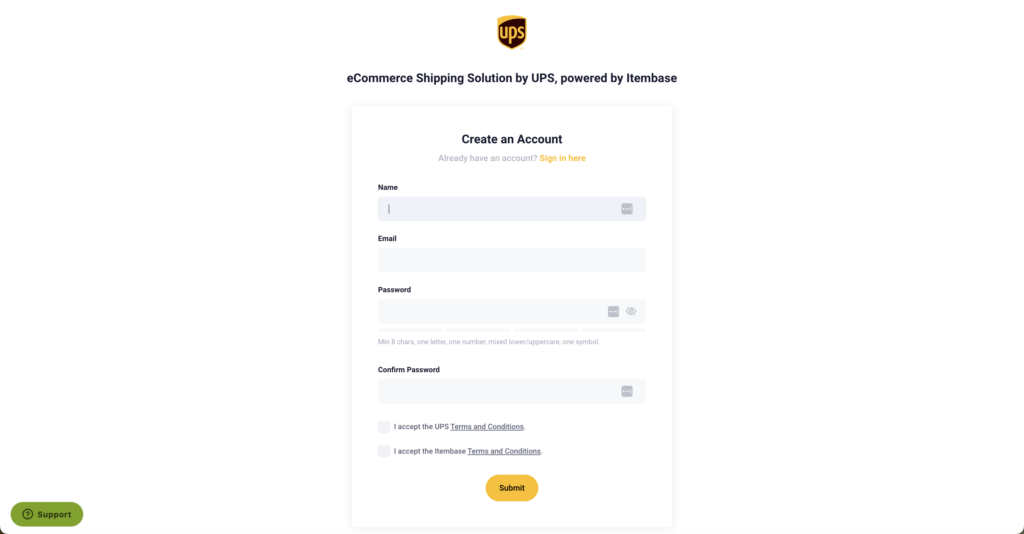
Scarica il Plugin
Once logged in, go to "Stores" and click on the connect button to download the WooCommerce plugin.
→ https://link.ecommerce.help/ups-plugins-woocommerce
Alternativa: Marketplace di WordPress
Alternatively, you can also download the plugin from the WordPress marketplace.
→ https://link.ecommerce.help/ups-plugins-woocommerce
Carica il Plugin su WooCommerce
Open a new tab and log in to your WooCommerce admin. Upload the plugin by following the standard plugin installation workflow within WordPress.

Installa e Attiva
Select the downloaded plugin, install it, and activate it.

Collega UPS a WooCommerce
After activation, a new entry called UPS will appear in the menu. Click on the UPS menu item.

Inserisci i Dettagli e Connettiti
Add your professional email address, accept the terms and conditions, and click the accept button. Upon connecting, the dashboard will initiate a historical data import.

Verifica gli Ordini
After a few minutes, you should start seeing your first orders in the dashboard.

Completamento
Your WooCommerce store is now connected to UPS for shipping purposes. The plugin installation and setup process is complete.
→ https://wordpress.org/plugins/ecommerce-shipping-dashboard-by-ups-for-woocommerce/#description