







1. Instalacja wtyczki rdzeniowej PrestaShop
Upewnij się, że jesteś zarejestrowany lub zalogowany na https://ups.dashboardlink.com oraz zalogowany do swojego zaplecza administracyjnego PrestaShop. Potwierdź, że Twoja wersja PrestaShop to 1.7.8.x lub 8.x.
Przewodnik krok po kroku
Pre-Requisites and Compatibility
Open a Browser Tab and Register or Login to https://ups.dashboardlink.com. Open another Tab in the same Browser and login to your PrestaShop Admin Backend. Supported PrestaShop Versions: 1.7.8.x, 8.x and 9.x.
→ https://ups.dashboardlink.com/registerUpload the Plugin
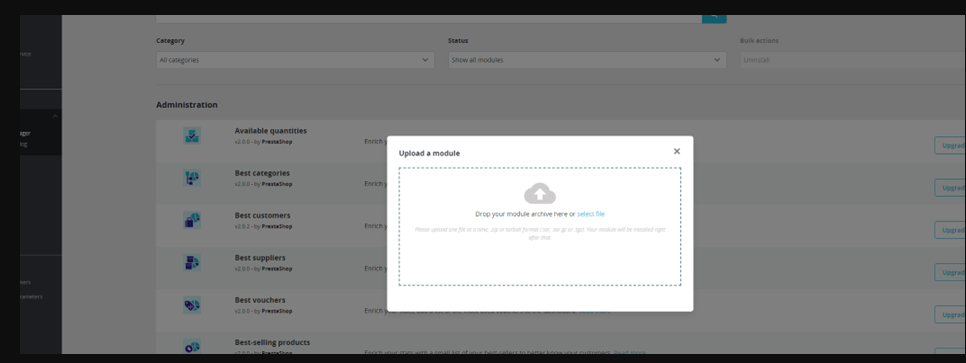
Navigate to Modules -> Module Manager. Click on the "Upload a module" button. Drag and Drop the downloaded zip file into the Upload Window.
Upload the Plugin
Click on the "Upload a module" button and drag and drop the downloaded zip file into the upload window.
Configure the Plugin
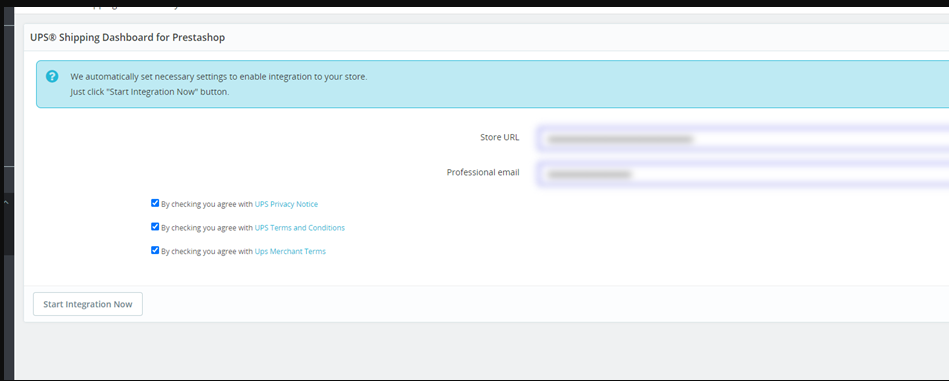
After the plugin has been installed, click on the "Configure" button. Add your Store URL and your professional E-Mail address, accept the terms and conditions and click the "Start Integration Now" button.
Enter Store Details
Add your Store URL and your professional E-Mail address, accept the terms and conditions, and click the �Start Integration Now� button.
Completion
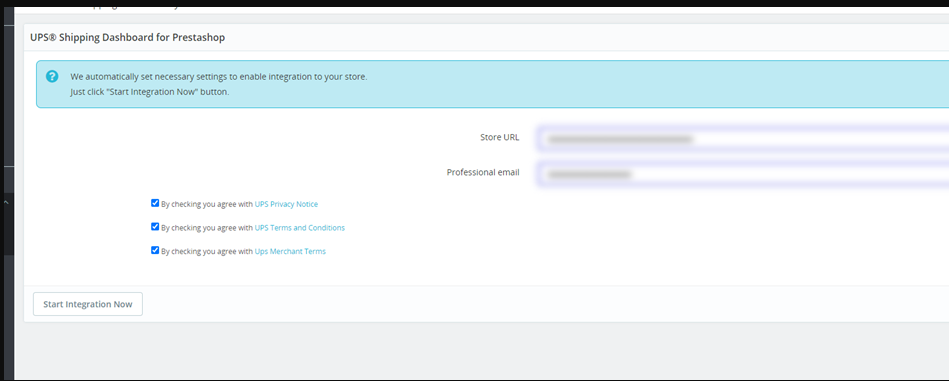
You will end up on the UPS Shipping Dashboard. After a couple of minutes your first orders will be imported.