1. Shopify Onboarding Guide
Table of Contents: Shopify UPS Shipping
- Registration
- Connect your Shopify Store
- Setting Default values
- UPS Account Linking
- Creating Shopify UPS Shipping Rates
- Creating a Shipment
- View Order Details
- Creating a Shipment / Shipping Label
- Support
Registration
Please go to https://ups.dashboardlink.com/register and register a free account. If you already have an account, go to https://ups.dashboardlink.com/login and log in.
Connect your Shopify Store
After you’ve successfully registered an account it’s time to connect your Shopify store. The connection is happening via Shopify’s Custom App approach.
After you log in to your dashboard, you’ll end up on:
https://ups.dashboardlink.com/de/stores
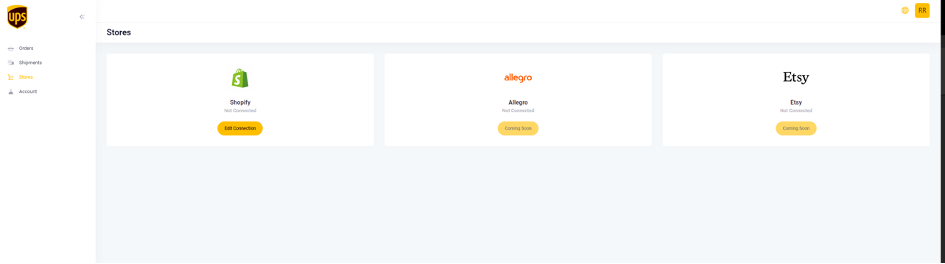
- Please click on the “Edit Connection” button for Shopify
The next section describes how to create a Custom App on Shopify
Setting Default Values
After you’ve successfully connected your store, you will want to set some default values like the Shipper Information, Measurement system, etc.
Please navigate to:
https://ups.dashboardlink.com/user/profile#
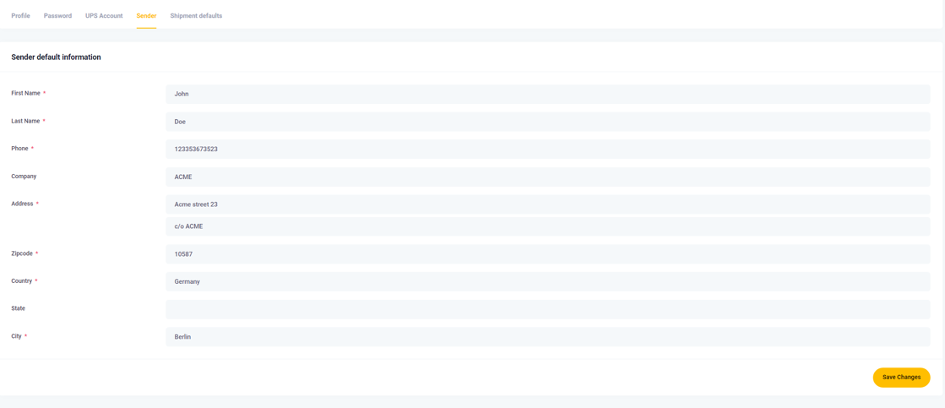
and open the “Sender” tab.
On this page you will add your Sender details which will automatically be prefilled for every order.
After creating the Sender, you will want to set up some defaults for the package Measurements. Please open the tab “Shipment defaults” and set the values accordingly.

Those measurements are taken by default if/when the commerce system does not provide any dimensions. You’ll still have the chance to modify the package dimensions before you print a label.
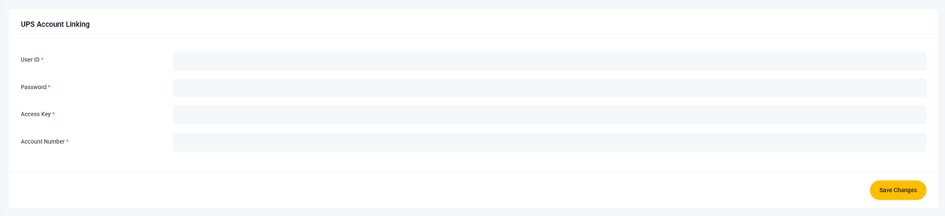
UPS Account Linking
After setting your default setting, it’s time to link your UPS account. Please open the “UPS Account” tab and add the required information.
Creating Shopify UPS Shipping Rates
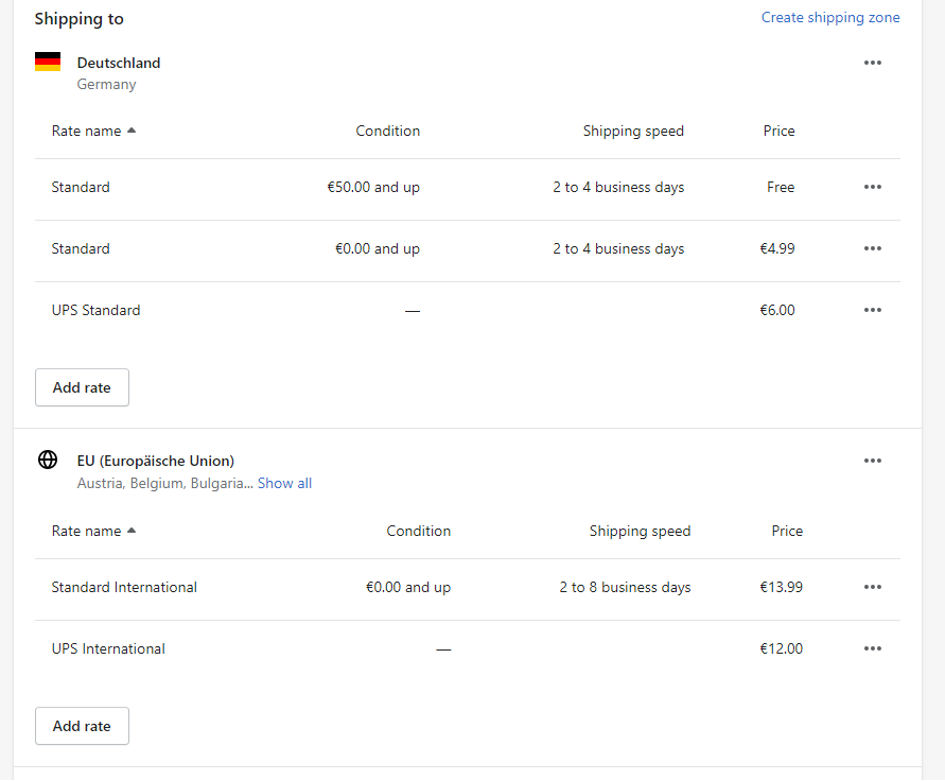
In order to see only the UPS-specific orders in the Dashboard, you have to create Shopify UPS Shipping Rates in Shopify and give them a name that starts with “UPS”.
For example:
- UPS Standard
- UPS Express
- UPS International
It is recommended to name it based on the UPS service you want to use. The dashboard displays only orders that have a Shipping Zone Name that starts with “UPS”.
To set up Shopify UPS shipping rates within Shopify, please see this resource on the Shopify Help Center:
Creating a Shipment
On https://ups.dashboardlink.com/orders you will see all open orders where you haven’t booked a label.
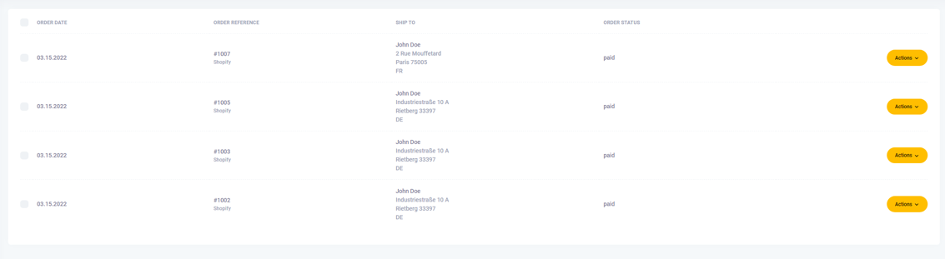
The “Action” button gives you a couple of options
- View Order Details
- Create Shipping Label
View Order Details
The order details page gives you an overview of the order details.
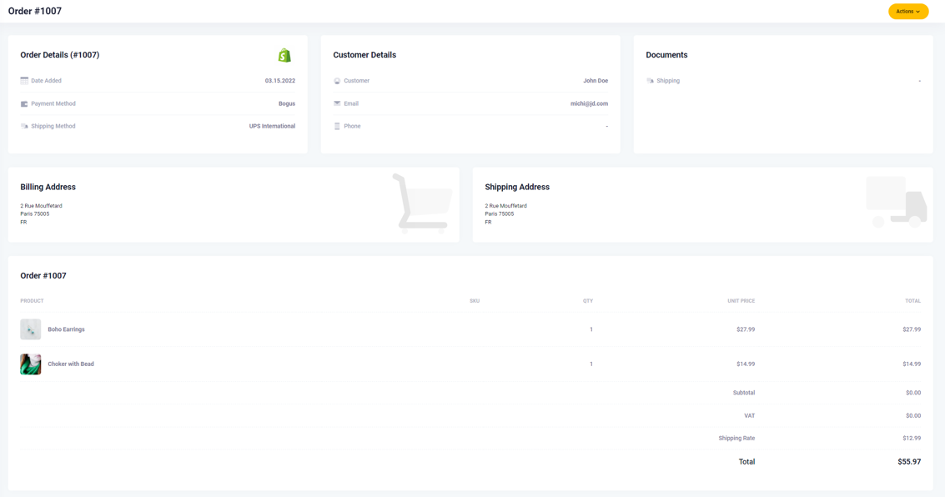
It also allows you to perform actions like
- Creating a Label
- Update Tracking Information
Creating a Shipment / Shipping Label
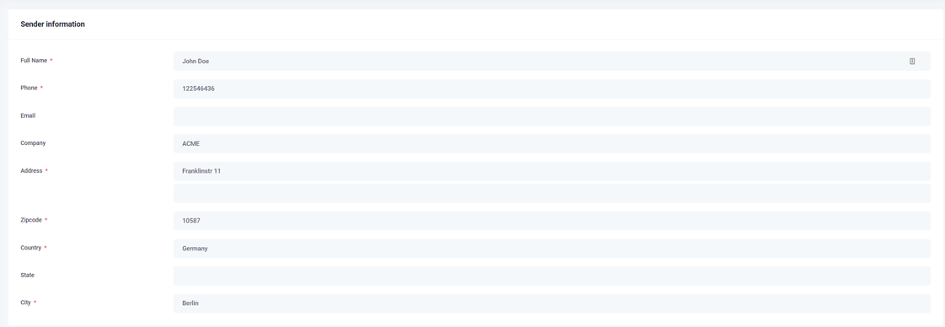
After selecting “Create Shipment” on an order, you will see an overview screen that allows you to add missing information to the order and perform changes on the package.
You will also get an overview of the standard sender information.
Furthermore, the Receiver information is prefilled. If data is missing, you have to add the data for all mandatory fields.
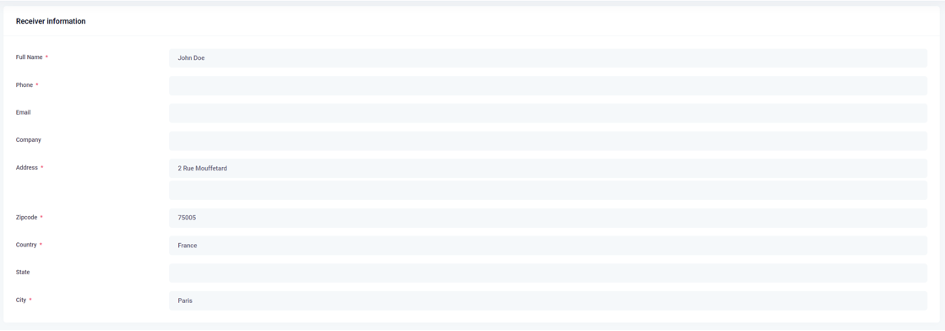
Finally, you can configure the UPS Service and packaging you would like to use.
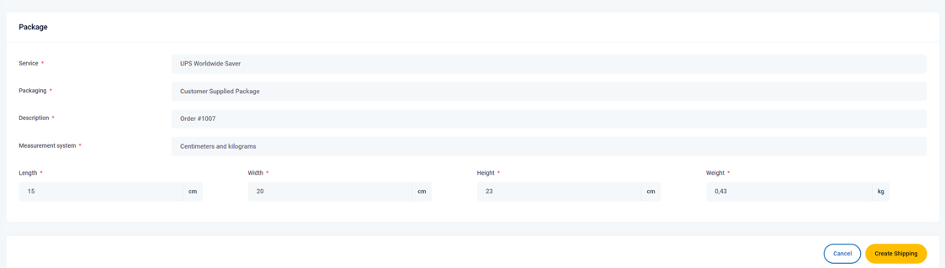
When clicking on the “Create Shipping” button, a Shipping label will be created and the order moves from the “Order” section into the “Shipments” section.

In the Shipment section you can choose the following different actions:
- Cancel Label
- Update Tracking Information
Updating the tracking information writes back the tracking number to your Shopify store.
Support
If you have any questions or issues using the Dashboard, please open up a support case by writing us at: upsplugins@ecommerce.help
Reset your password
If the password you typed is incorrect, you’ll see a message that says:
These credentials do not match our records.
In order to reset your password, select ‘Forgot password?’
Enter your account’s email address, click on ‘Email Password Reset Link’ and a password reset link will be sent to your inbox.
We recommend following the steps above to resolve your password issues. If you already tried this but it didn’t work, please contact support by writing to: upsplugins@ecommerce.help.
Was this article helpful?
Have more questions? Submit a request